So, What are the Steps in a House Extension Process?
Planning a house extension is a big decision and something many homeowners think about when they want more space without moving. Understanding the house extension process steps helps you prepare properly and makes the whole project feel easier to manage. In my experience working on properties across Kent, extensions work best when the process is clear from the beginning and everyone involved understands what needs to happen and when.
A house extension gives you the chance to create more room, improve layout, and design a space that suits your lifestyle. Whether you want a larger kitchen, an extra bedroom, a home office, or a brighter living area, a well planned extension can transform your home. Below, I explain the main steps involved so you know exactly what to expect before the work begins.
Step one: Understanding what you need
Before any drawings or measurements take place, the first step is deciding what you want your extension to achieve. Every homeowner has different goals. Some want more space for family life. Others want a more open layout or a place to work from home.
Useful questions include:
- What is the main purpose of the extension
- How much extra space do you need
- Will the extension connect to the kitchen, living room, or garden
- Do you prefer open plan or defined rooms
- How important is natural light
This early thinking helps guide the rest of the project and prevents changes later on.
Step two: Assessing your property
Before any design work begins, I always take time to look at the property as a whole. This includes the structure, the available space, how the rooms currently flow, and whether anything needs updating. This assessment often highlights extra opportunities to improve the layout or create better connections between rooms.
If you plan to update other parts of the home as well, this can be combined with wider renovations which helps everything come together in a smooth way.
Step three: Creating the design
Once your needs are clear, the next step is designing the extension. Good design makes sure the new space feels natural rather than a separate add on. This stage involves creating drawings, measuring the available space, and planning how the new area will connect to the existing home.
A strong design considers:
- Light and window placement
- Room layout
- Heating and ventilation
- Storage
- Electrical and plumbing needs
- How the space will feel and function
If your extension includes a new kitchen or a larger kitchen layout, our kitchen fitting service helps plan this alongside the extension design.
Step four: Planning permission
Many homeowners want to know whether they need planning permission. Some extensions fall under permitted development rules which means you can build without full permission as long as the design meets specific limits on size and placement.
However larger or more complex extensions often require a formal planning application. If this applies to your project, drawings and documents will be submitted to the local authority. Decision times vary, but planning approval usually takes several weeks.
Building regulations approval is always required even if planning permission is not. Regulations cover important areas such as insulation, drainage, structural safety, electrics, and fire protection. Following these rules ensures your extension is safe, strong, and energy efficient.
Step five: Setting timelines and budgets
Once the design is confirmed and any permissions are in place, the next step is planning the practical timeline. Every extension is different, but most follow a similar order of work. A clear timeline helps you understand what will happen and when.
Budget planning is also important. Costs vary depending on materials, size, and the level of finish you want. A detailed quote makes sure there are no surprises later.
Step six: Groundworks and foundations
Building starts with preparing the site. This includes clearing the area, digging the foundations, and ensuring everything is level and ready for construction.
Groundworks are essential because a strong foundation supports everything above it. Once this is complete, the project begins to take shape.
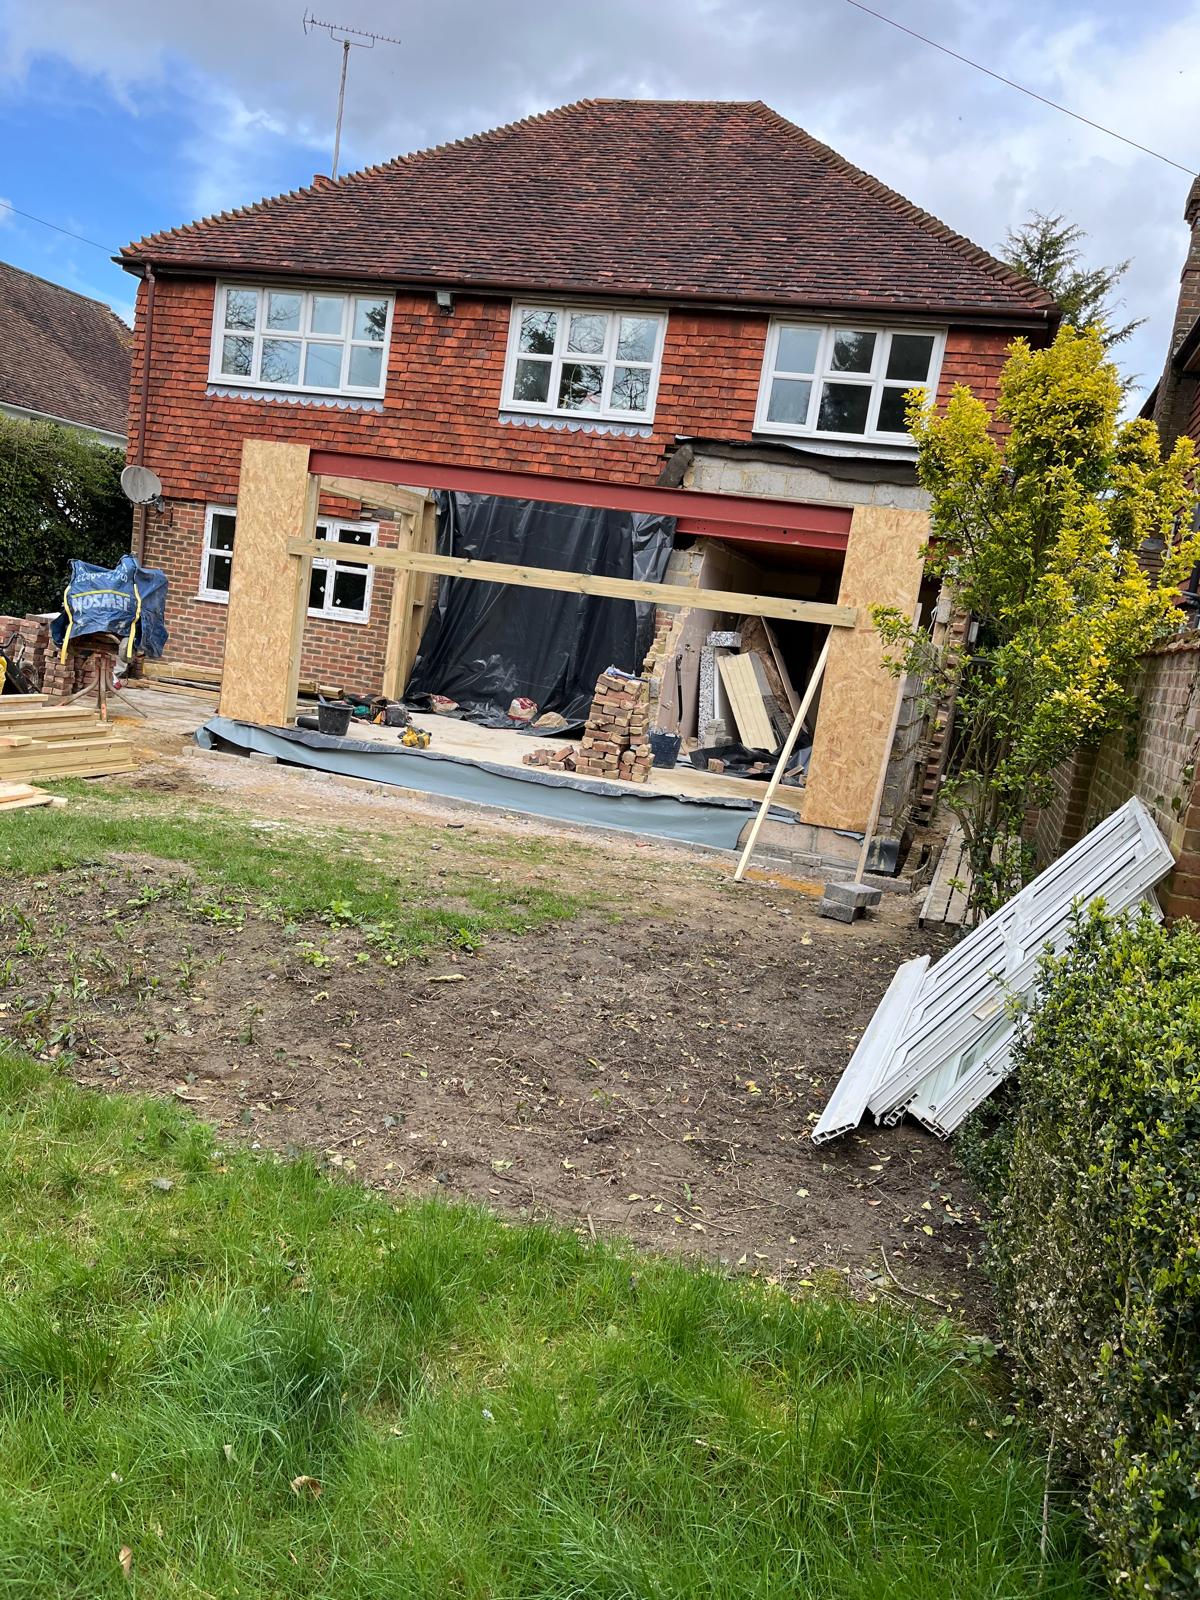
Step seven: Building the structure
The main structure is built next. This includes walls, floors, and the roof. You begin to see how much space the extension adds and how it fits with the existing home.
Roof styles vary depending on the design. Some extensions use flat roofs while others use pitched roofs to match the main property. At this stage, window and door openings are also created. Larger openings look especially good when connecting to gardens or patio areas.
If your extension includes a bathroom, this is the stage where plumbing planning connects with the wider layout. Our bathroom fitting service makes sure everything is positioned correctly before internal work begins.
Step eight: Electrical and plumbing work
Once the structure is in place, internal work starts. Electricians and plumbers run cables and pipes through the walls and floors before plastering. This includes:
- Lighting
- Sockets
- Heating
- Water supply
- Ventilation
Everything must meet building regulations and be tested before the extension is finished.
Step nine: Insulation and plastering
Insulation is added to walls, floors, and ceilings to keep the space warm and comfortable. Good insulation also helps with sound control and energy efficiency. After insulation, plasterboard is fitted and the walls are plastered to create a smooth finish ready for decoration.
Step ten: Flooring and interior finishes
The final stage is where the extension really comes to life. This includes flooring, painting, skirting, and any built in furniture or storage. If a new kitchen or bathroom is part of the extension, these are fitted during this stage too.
You can explore examples of finished projects on our work which show how these final touches bring the vision together.
Step eleven: Final checks and aftercare
Once everything is complete, the extension is checked carefully to ensure all work meets the correct standards. Our service includes dedicated aftercare for any small adjustments that may be needed once the new space settles.
We are also grateful that many homeowners have shared kind feedback about their experience with us. These reviews appear on our site through our online widget and reflect the level of care we aim to deliver on every project.
Conclusion
Understanding the full house extension process steps helps you prepare for each stage with confidence. From design and planning permission to construction and finishing touches, each stage plays a vital role in creating a strong, comfortable, and long lasting extension.
If you are beginning to plan your extension or exploring ideas, you can contact us to discuss your plans in more detail. At AGC Carpentry and Building Services, supported by our updates on Instagram, we guide homeowners through every part of the journey to ensure the final result fits both your home and your lifestyle.